09 June 2017 | Lab Unlimited
Top Tips to Calibrate pH sensor in the YSI Pro Plus Meter
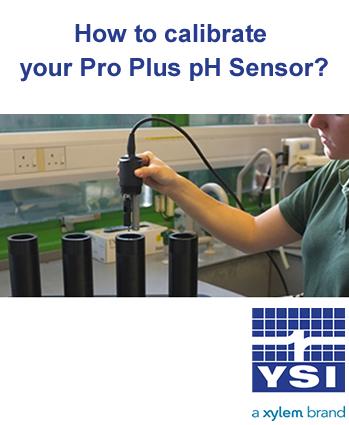
Do you want to make the most out of your YSI Professional Plus pH sensor? A new pH sensor may be able to hold its calibration for several days, however, the pH calibration should be verified every day the instrument is used. Here''s our 12 top tips to make sure you always get the best results out of your Pro Plus.
A new pH sensor may be able to hold its calibration for several days, however, the pH calibration should be verified every day the instrument is used. Here's our 12 top tips to make sure you always get the best results out of your Pro Plus. 1. If using a pH sensor in a X-6051010 or Quatro cable, make sure to calibrate the sensor in port 1 before calibrating the sensor in port 2 , as the sensor in port 2 uses the reference of the sensor installed in port 1. 2. The pH sensor can be calibrated with up to six calibration points and calibration can be accomplished in any buffer order. 3. pH 7 buffer should be used regardless of how many calibration points you use; however, it does not have to be the first point. 4. In most cases, a two-point calibration is all that is required (4 and 7 or 7 and 10). You can bracket the expected in-situ pH values. Use a three-point calibration with 4, 7 and 10 if the in-situ pH values are unknown or if you expect the in-situ values to be on both sides of the pH scale. 5. Rinse the sensors and cal cup with a small amount of pH buffer. Fill the cup to submerge the pH sensor tip and the temperature sensor. 6. If necessary, highlight the Calibration Value and enter the pH value of the buffer solution. 7. Record the pH millivolts for each calibration point. The acceptable mV outputs for each buffer are as follows: pH 7 mV value = 0 mV +/- 50 mV pH 4 mV value = +165 to +180 from 7 buffer mV value pH 10 mV value = -165 to -180 from 7 buffer mV value 8. Wait for the pH to stabilize in each buffer and then press enter to accept each calibration point. 9. Rinse the sensor and cal cup with a small amount of the next buffer between calibration points. 10. After pressing enter to accept your last calibration point, press the cal key to complete the calibration. Otherwise you will continue calibrating up to 6 calibration points. 11. If you receive a warning message stating that the calibration is questionable, do not continue with the calibration. Instead, select ‘No’ and investigate what is causing the questionable results. If you accept a questionable calibration, your pH readings will be erroneous. Typical causes for this error message include: incorrect Sensor/Port setup in the instrument, a dirty sensor or bad buffer solution. 12. After accepting a good calibration, navigate to the GLP file and check the pH Slope and Slope % of ideal. A good slope should be between 55 and 60 mVs while the ideal is 59 mV. If the slope drops below 53, the sensor should be reconditioned and recalibrated. #Don't forget: One of the things you need to make sure before you start calibration is that the temperature sensor is reading accurately by comparing it to a traceable thermometer or other known reference in a water bath. As temperature compensation is used in every other sensor measurement, its accuracy should be verified and recorded each time the Pro Plus is calibrated.